How to Get Your OpenAI API Key in 3 Minutes (A Beginner’s Guide)
You have made the smart choice. You joined AIWritingPlus to stop overpaying for AI credits and start using the "Bring Your Own Key" (BYOK) model.
But now you are staring at a dashboard asking for an "OpenAI API Key," and you might be thinking:
"I am not a developer. What is an API key? And how do I get one?"
Don't panic. Getting an API key is incredibly easy. It’s just like getting a password for your WiFi. You don't need to know how to code; you just need to know where to click.
In this guide, we will walk you through the exact process of creating your OpenAI account, setting up billing, and generating your first key so you can unlock the full power of AIWritingPlus.
What is an API Key?
An API Key (Application Programming Interface Key) is simply a unique code that acts like a digital ID card.
When you paste this key into AIWritingPlus, it tells OpenAI: "Hey, this is John. He wants to generate a blog post. Please process this request and bill John's account directly."
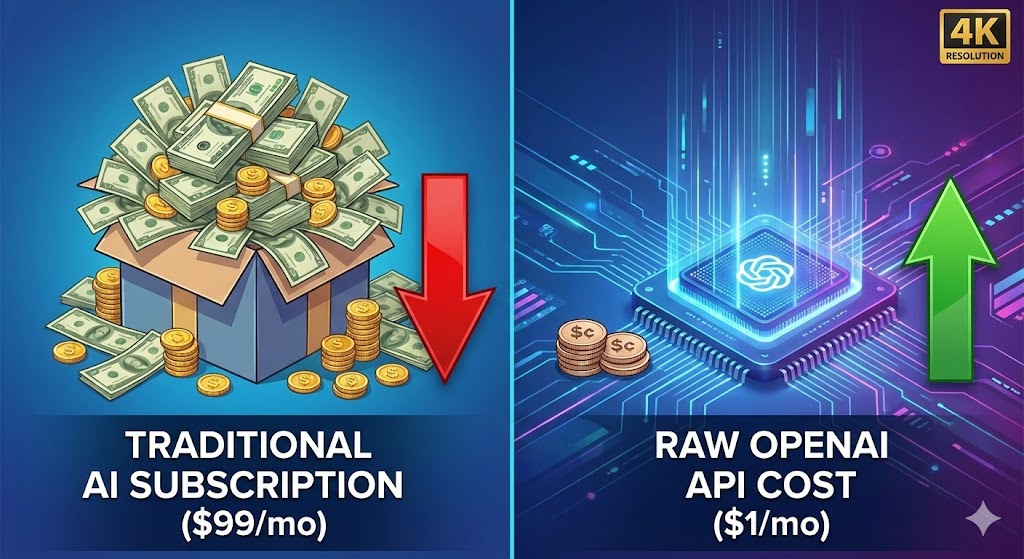
This direct connection is the secret to how you save 80% on AI costs.
Step 1: Create an OpenAI Account
First, you need an account with OpenAI (the creators of ChatGPT).
-
Go to the OpenAI Platform website.
-
Sign Up: You can use your email address, or simply continue with your Google or Microsoft account.
-
Verify: If you used an email, check your inbox and verify your email address. You may also need to verify your phone number via SMS.
Note: Even if you already have a ChatGPT Plus account, we recommend logging into the "Platform" side to manage your API keys.
Step 2: Set Up Billing (Crucial Step)
This is the most common mistake beginners make. You cannot use the API key until you add a payment method. Even if the key is generated, it won't work without billing set up.
-
Log in to platform.openai.com.
-
On the left sidebar (or top right menu), click on Settings (the gear icon) > Billing.
-
Click "Add payment details".
-
Choose "Individual" if it’s for personal use, or "Company" if you are a business.
-
Enter your credit or debit card information.
Important Note on "Credits": OpenAI has recently moved to a "Pre-paid" system for many new accounts. You may need to buy $5 or $10 worth of credits upfront to activate your account. Think of it like loading a prepaid mobile phone card. These credits never expire (usually) and are used as you generate content.
Step 3: Create Your API Key
Now for the easy part—getting the key!
-
On the left sidebar, click on "API Keys" (It might be under a "Dashboard" or lock icon depending on OpenAI's current layout).
-
Click the button that says "+ Create new secret key".
-
Name your key: A box will pop up asking for a name. Type "AIWritingPlus" (or anything you like). This helps you remember what this key is used for later.
-
Create: Click the "Create secret key" button.
Step 4: Copy and Save Your Key (Do This Immediately!)
A window will appear showing your new key. It will look something like this: sk-proj-aBcDeFgHiJkLmNoPqRsTuVwXyZ...
⚠️ WARNING: You will only see this key once. For security reasons, OpenAI will never show it to you again.
-
Click the tiny Copy icon next to the key.
-
Paste it somewhere safe temporarily (like a notepad) if you aren't ready to put it into AIWritingPlus immediately.
-
Click "Done".
Step 5: Connect to AIWritingPlus
Now, let's turn on your dashboard.
-
Log in to your AIWritingPlus account.
-
Navigate to your Dashboard.
-
Look for the "API Keys" or "Settings" section in the menu.
-
Paste your key into the box labeled "OpenAI API Key".
-
Click "Update" or "Save".
Congratulations! 🎉 You are now connected. You can go to the Article Wizard or Image Generator and start creating content instantly.
Safety Tip: How to Set Spending Limits
One of the best features of OpenAI is that you are in total control of your budget. You can ensure you never accidentally spend too much.
-
Go back to the OpenAI Billing Settings.
-
Look for "Usage Limits".
-
Hard Limit: Set this to a monthly budget you are comfortable with (e.g., $20). If you reach this amount, the API will stop working until the next month or until you raise the limit.
-
Soft Limit: Set this slightly lower (e.g., $15). OpenAI will send you an email alert when you reach this amount, just to let you know.
This gives you peace of mind that you will never wake up to a surprise bill.
Troubleshooting: Why is my Key not working?
If you pasted your key but AIWritingPlus says "Error" or isn't generating content, here are the top 3 reasons:
1. No Billing Set Up / Out of Credits
-
Fix: Go to OpenAI Billing. Did you add a card? If you are on a pre-paid plan, is your balance $0.00? You must load at least $5 to start.
2. You Copied the Wrong Text
-
Fix: Ensure you copied the full key starting with
sk-.... Do not add any spaces before or after the key.
3. Key is Deleted
-
Fix: If you accidentally deleted the key in OpenAI, just create a new one and update it in AIWritingPlus.
🙋♀️ Frequently Asked Questions (FAQ)
Q: Does getting an API key cost money? A: Generating the key itself is free. You only pay when you actually use the key to generate text or images.
Q: Can I use the same key on multiple devices? A: Yes, you can use that single key for your AIWritingPlus account, even if you log in from different computers.
Q: Is it safe to give AIWritingPlus my key? A: Yes. Your key is stored locally on your encrypted dashboard settings. We do not use your key for our own purposes; it is strictly a bridge between you and OpenAI.
Q: My key isn't working, but I have ChatGPT Plus. Why? A: ChatGPT Plus ($20/mo) and the OpenAI API are two separate billing systems. Having ChatGPT Plus does not give you API credits. You must add a separate payment method or credits to the "Platform" side of OpenAI.